Oh my goodness it’s been so long since I posted! Unfortunately what felt like the Black Plague has invaded our house, and my SO, baby and I have all caught a terrible cold. We’ve been down for the last two weeks! Have any of you caught this last miserable bug? It seems to take forever to shake it. Yuck!
But, things are looking up and I got some time to craft – albeit with a Kleenex shoved in my nose and a big jug of lemon honey tea.
I decided since I have a few people with babies in my life, I should maybe make some 1st birthday cards or welcome baby cards! And since I’m also trying to use up some of my patterned paper stash, this one features some great Photoplay Paper! It’s one of my favourite paper brands, they always have the cutest designs. This one is the “Cutie Pie” design. I couldn’t resist those floating critters, and BONUS! The back is an awesome grey/mint design too! That’s a rarity for me to love both.

 I got ambitious and made three cards from this paper! To make these cards, I cut some mint card bases at 4.25 x 5.5″.
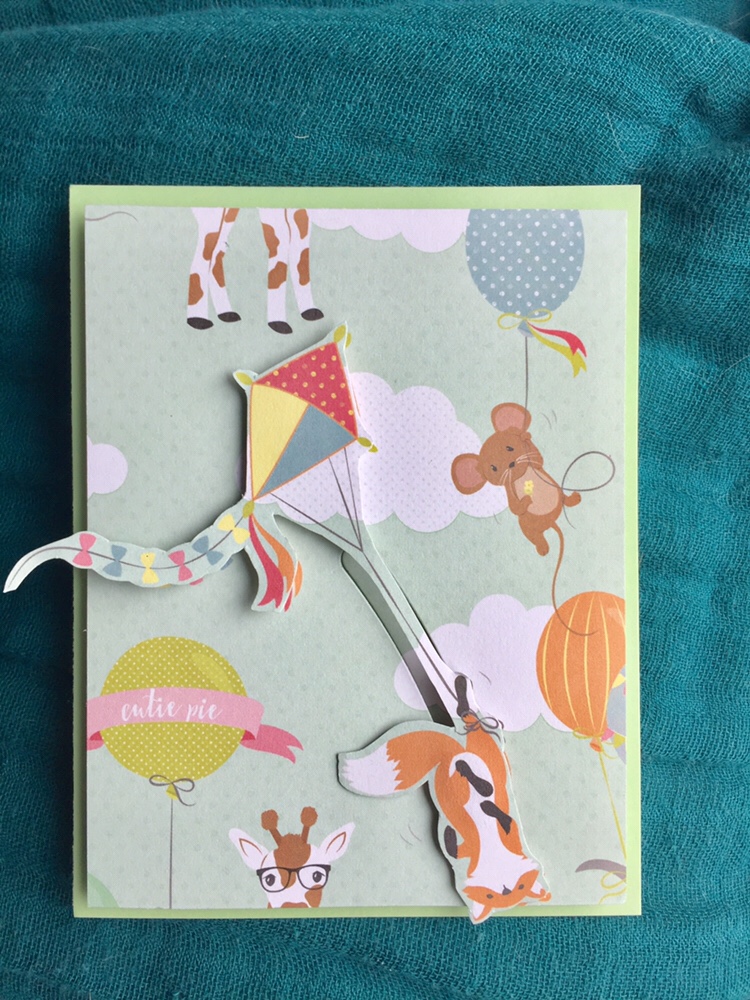
For the two slider cards, I cut two panels from the patterned paper and fussy cut two of the images that I wanted to use. Then I used the Lawn Fawn Slide on Over dies to create a slider area for the image. I tried to line up the image with one that was already on the paper for a seamless look.

For the slider cards I used two layers of foam tape behind he card panel so I would have room for the sliding piece. I used a button as the slider, but a lot of people use pennies. Since those are hard to come by in Canada now, a flat button worked great!
I placed the button in the space where the slider would go and then adhered the card panel on top. Then I used double foam tape on the button to elevate it above the card and allowing it to slide through.
I noticed the kite images were flimsy when sliding, so on the back of them I added some foam to the bigger areas, and then a line of liquid glue to the string to give it more strength. This also allowed the images to be more flush with the panel.
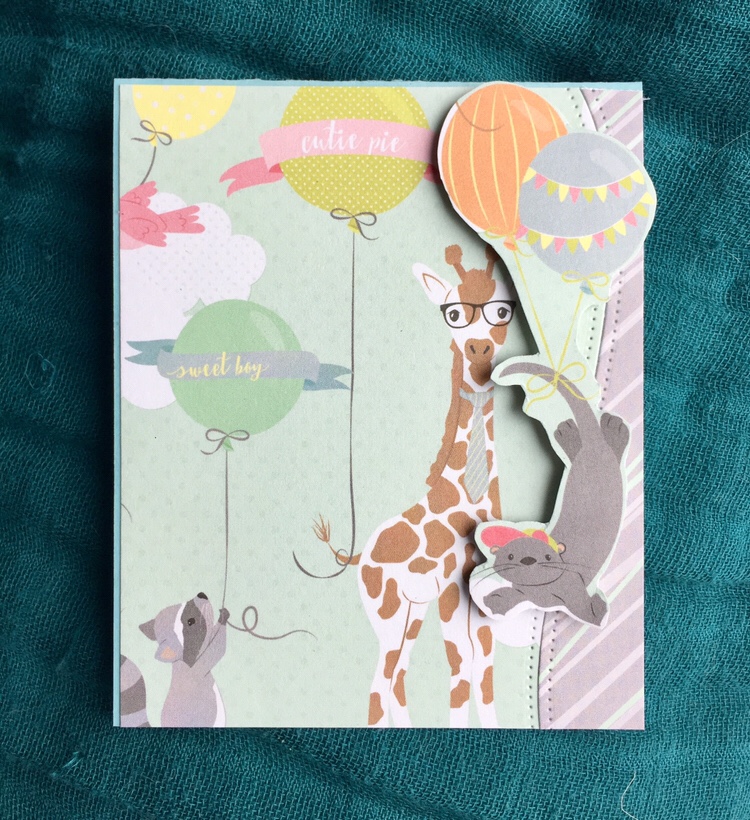
After the glue dried, I adhered the images to the button slider with strong adhesive, and then added the sentiment. The sentiment on the bear card is a clear sticker from a birthday set I can’t remember the name of. Oops!


For the other card, I used Avery Elle dotted boarders dies for the curved edge and pieced the papers together to create a seam. I trimmed it down to fit and fussy cut an otter out of the animal print. I added him on with foam tape and that was it!

I’m waiting to add sentiments until I know for sure what I’m going to use these cards for!
Have you crafters ever made slider cards? I have big ideas for some in the future!
Let me know what you think with likes and comments! Also feel free to follow my instagram for more fun! Thanks for stopping by!

Aww so adorable!! ☺☺ I’ve never made a slider card but they sure do look like fun!! I love all of the cards! Such a cute design!! ☺😊❤
LikeLike
They take a little bit of planning but they are super fun to make and everyone is always impressed by them! 🙂
LikeLiked by 1 person
I am too! ☺ They came out really nice ☺ I love the color scheme to very pretty! 😊 I can’t wait to see your future ones I can already tell their going to be awesome! ☺☺
LikeLike